I am Yassine Fathi, your Fullstack Engineer based in Belgium. Navigating the realms of web and mobile innovation, I specialize in architecting optimized and high-quality software solutions. With a passion for unraveling real customer challenges, I am committed to delivering practical, business-aligned solutions.
Let's embark on a journey to build something truly amazing together!
## Introduction This article will show you how to automatically sync Traefik records with Cloudflare DNS using Traeflare. This is useful if you want to use Traefik as a reverse proxy for your services and you want to use Cloudflare as your DNS provider. It's done by using [Traeflare](https://github.com/m4tt72/traeflare), a tool that automatically syncs Traefik records with Cloudflare DNS. ## Prerequisites - [ ] A [Cloudflare](https://www.cloudflare.com/) account - [ ] A [Traefik](https://traefik.io/) instance - [ ] An ubuntu server with [Docker](https://docs.docker.com/engine/install/ubuntu/) installed - [ ] [Docker compose](https://docs.docker.com/compose/install/) installed - [ ] A domain name that is managed by Cloudflare ## Steps **Let's assume that you are working in the directory `/home/ubuntu/traefik`.** ### 1. Prepare the environment variables Create a file called `.env` and add the following environment variables: | Variable | Description | Default | | --- | --- | --- | | TRAEFIK_API_URL | Traefik API URL | http://traefik:8080 | | CF_API_URL | Cloudflare API URL | https://api.cloudflare.com/client/v4 | | CF_ZONE_ID | Cloudflare Zone ID | | | CF_API_EMAIL | Cloudflare API Email | | | CF_API_KEY | Cloudflare API Key | | | CF_DNS_API_TOKEN | Cloudflare DNS API Token | | | DOMAIN_NAME | Domain Name | | | RECORD_TYPE | Cloudflare Record Type | CNAME | | PROXIED | Cloudflare Proxied | true | | PRUNE_RECORDS | Prune Records | true | ### 2. Update your docker-compose.yml file Assuming that you already have a Traefik service running and defined like the following in your `docker-compose.yml` file: ```yaml services: traefik: image: traefik:v2.10 container_name: traefik ports: - 80:80 - 443:443 volumes: - /var/run/docker.sock:/var/run/docker.sock:ro - /etc/localtime:/etc/localtime:ro - ./traefik.yml:/etc/traefik/traefik.yml:ro - ./config:/etc/traefik/config:ro - ./acme:/etc/traefik/acme - ./logs:/var/log env_file: .env labels: - traefik.enable=true - traefik.http.services.traefik.loadbalancer.server.port=8080 # Add Traeflare here traeflare: image: ghcr.io/m4tt72/traeflare:main container_name: traeflare env_file: .env # Reference the environment variable file here restart: unless-stopped depends_on: - traefik whoiam: image: containous/whoami container_name: whoami labels: - traefik.enable=true # Traefik will automatically pick this up, generate routes for it, certificate, and also inform Traeflare to create a DNS record for it. # Your other services ``` With a directory tree that looks like this: ```bash . ├── acme │ └── acme.json ├── config │ └── config.yml ├── logs │ ├── access.log │ └── traefik.log └── traefik.yml ``` And with the configuration files in the directory: `traefik.yml` ```yaml global: checkNewVersion: false sendAnonymousUsage: false entryPoints: http: address: :80 http: redirections: entryPoint: to: https scheme: https permanent: true https: address: :443 http: tls: options: default certResolver: cloudflare log: level: DEBUG format: common filePath: /var/log/traefik.log accessLog: format: common filePath: /var/log/access.log api: insecure: true dashboard: true providers: docker: endpoint: unix:///var/run/docker.sock exposedByDefault: false watch: true defaultRule: Host(`{{ .ContainerName }}.example.com`) file: directory: /etc/traefik/config watch: true certificatesResolvers: cloudflare: acme: email: your-email@example.com storage: /etc/traefik/acme/acme.json dnsChallenge: provider: cloudflare delayBeforeCheck: 10 ``` `config/config.yml` ```yaml tls: options: default: minVersion: VersionTLS13 sniStrict: true ``` As you can see, we have a Traefik service that is defined in our `docker-compose.yml` file and a Traeflare service that is defined in our `docker-compose.yml` file. There is also a `whoami` service that is defined in our `docker-compose.yml` file, we added `traefik.enable=true` to the labels of this service so that Traefik can automatically pick it up, generate routes for it, certificate, and also inform Traeflare to create a DNS record for it. **Note:** Make sure your container, in this example `whoami`, has a label `traefik.enable=true` AND a `container_name` defined. ### 3. Start the Traeflare service Run the following command to start the Traeflare service: ```bash docker-compose up -d ``` ### 4. Check the Traeflare logs Run the following command to check the Traeflare logs: ```bash docker-compose logs -f traeflare ``` You will see that Traeflare has created a DNS record for the `whoami` service: ### 5. Check the Cloudflare DNS records and service URL Go to your Cloudflare account and check the DNS records, you will see that Traeflare has created a DNS record for the `whoami` service. You can also go to the URL of the `whoami` service and you will see that it's working. ## Conclusion In this article, we discussed how to automatically sync Traefik records with Cloudflare DNS using Traeflare. We installed Traeflare and configured it to automatically sync Traefik records with Cloudflare DNS. ## Further reading - [Traeflare](https://github.com/m4tt72/traeflare) ## References - [Traefik](https://traefik.io/) - [Cloudflare](https://www.cloudflare.com/) - [Docker](https://www.docker.com/)
December 16, 2023 • 4 min read • 707 words
## Introduction This article will show you how to monitor a website for changes. This is useful if you want to be notified when a website changes, for example, when a new blog post is published, a black friday sale starts, or an item is back in stock. ## Prerequisites - [ ] A [Telegram](https://telegram.org/) account - [ ] An ubuntu server with [Docker](https://docs.docker.com/engine/install/ubuntu/) installed - [ ] [Docker compose](https://docs.docker.com/compose/install/) installed ## Steps ### 1. Create a Telegram bot 1. Open Telegram and search for `@BotFather` 2. Send `/newbot` to `@BotFather` 3. Enter a name for your bot 4. Enter a username for your bot 5. Copy the token that `@BotFather` gives you ### 2. Create a Telegram chat 1. Open Telegram and search for `@userinfobot` 2. Send `/start` to `@userinfobot` 3. Send `/my_id` to `@userinfobot` 4. Copy the chat id that `@userinfobot` gives you ### 3. Create a Docker compose file 1. On your ubuntu server, create a file called `docker-compose.yml` with the following content: ```yaml version: "3.9" volumes: data: services: changedetection: image: dgtlmoon/changedetection.io:dev container_name: changedetection hostname: changedetection volumes: - data:/datastore environment: - PORT=5000 - PUID=1000 - PGID=1000 - WEBDRIVER_URL=http://browser-chrome:4444/wd/hub - PLAYWRIGHT_DRIVER_URL=ws://playwright-chrome:3000/?stealth=1&--disable-web-security=true - BASE_URL=http://localhost:5000 restart: unless-stopped ports: - 5000:5000 browser-chrome: hostname: browser-chrome image: selenium/standalone-chrome-debug:3.141.59 environment: - VNC_NO_PASSWORD=1 - SCREEN_WIDTH=1920 - SCREEN_HEIGHT=1080 - SCREEN_DEPTH=24 volumes: - /dev/shm:/dev/shm restart: unless-stopped playwright-chrome: hostname: playwright-chrome image: browserless/chrome restart: unless-stopped environment: - SCREEN_WIDTH=1920 - SCREEN_HEIGHT=1024 - SCREEN_DEPTH=16 - ENABLE_DEBUGGER=false - PREBOOT_CHROME=true - CONNECTION_TIMEOUT=300000 - MAX_CONCURRENT_SESSIONS=10 - CHROME_REFRESH_TIME=600000 - DEFAULT_BLOCK_ADS=true - DEFAULT_STEALTH=true ``` ### 4. Start the Docker containers 1. On your ubuntu server, run the following command to start the Docker containers: ```bash docker-compose up -d ``` ### 5. Add a website to monitor 1. Open a web browser and navigate to `http://localhost:5000` 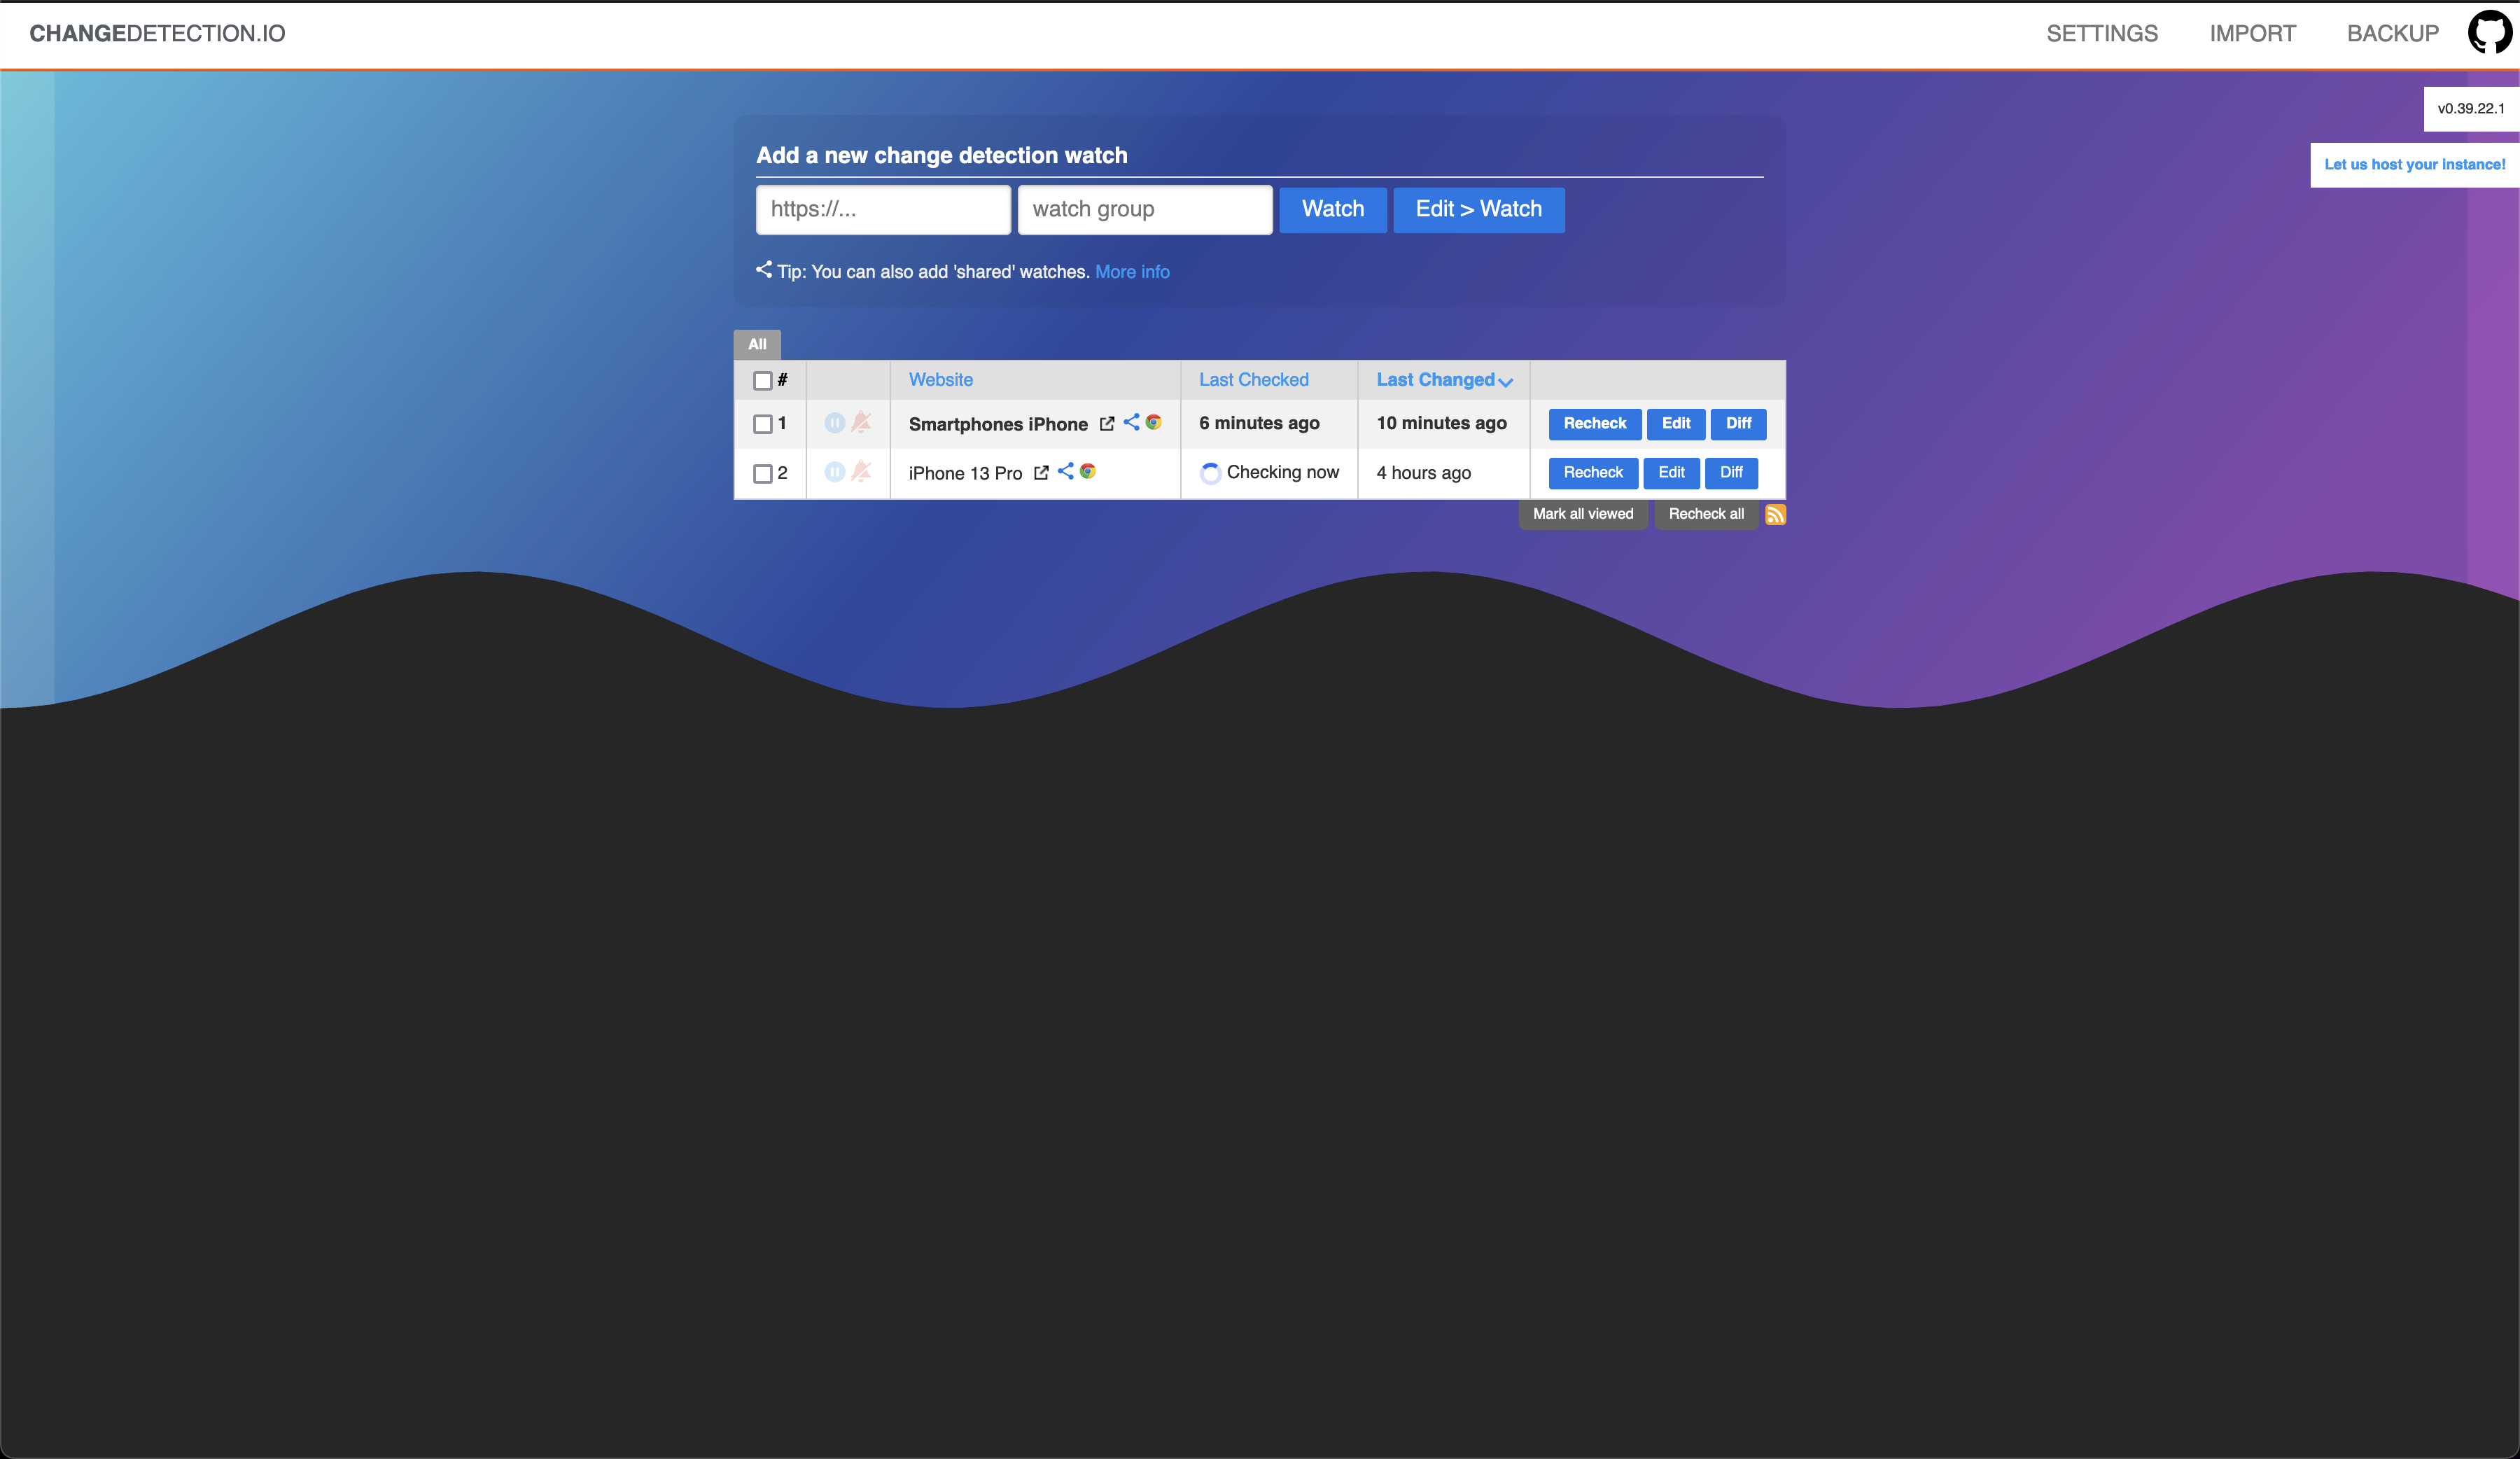 2. Paste the URL of the website you want to monitor in the `URL` field  3. Click `Edit > Watch` 4. Under time between checks, select your preferred interval 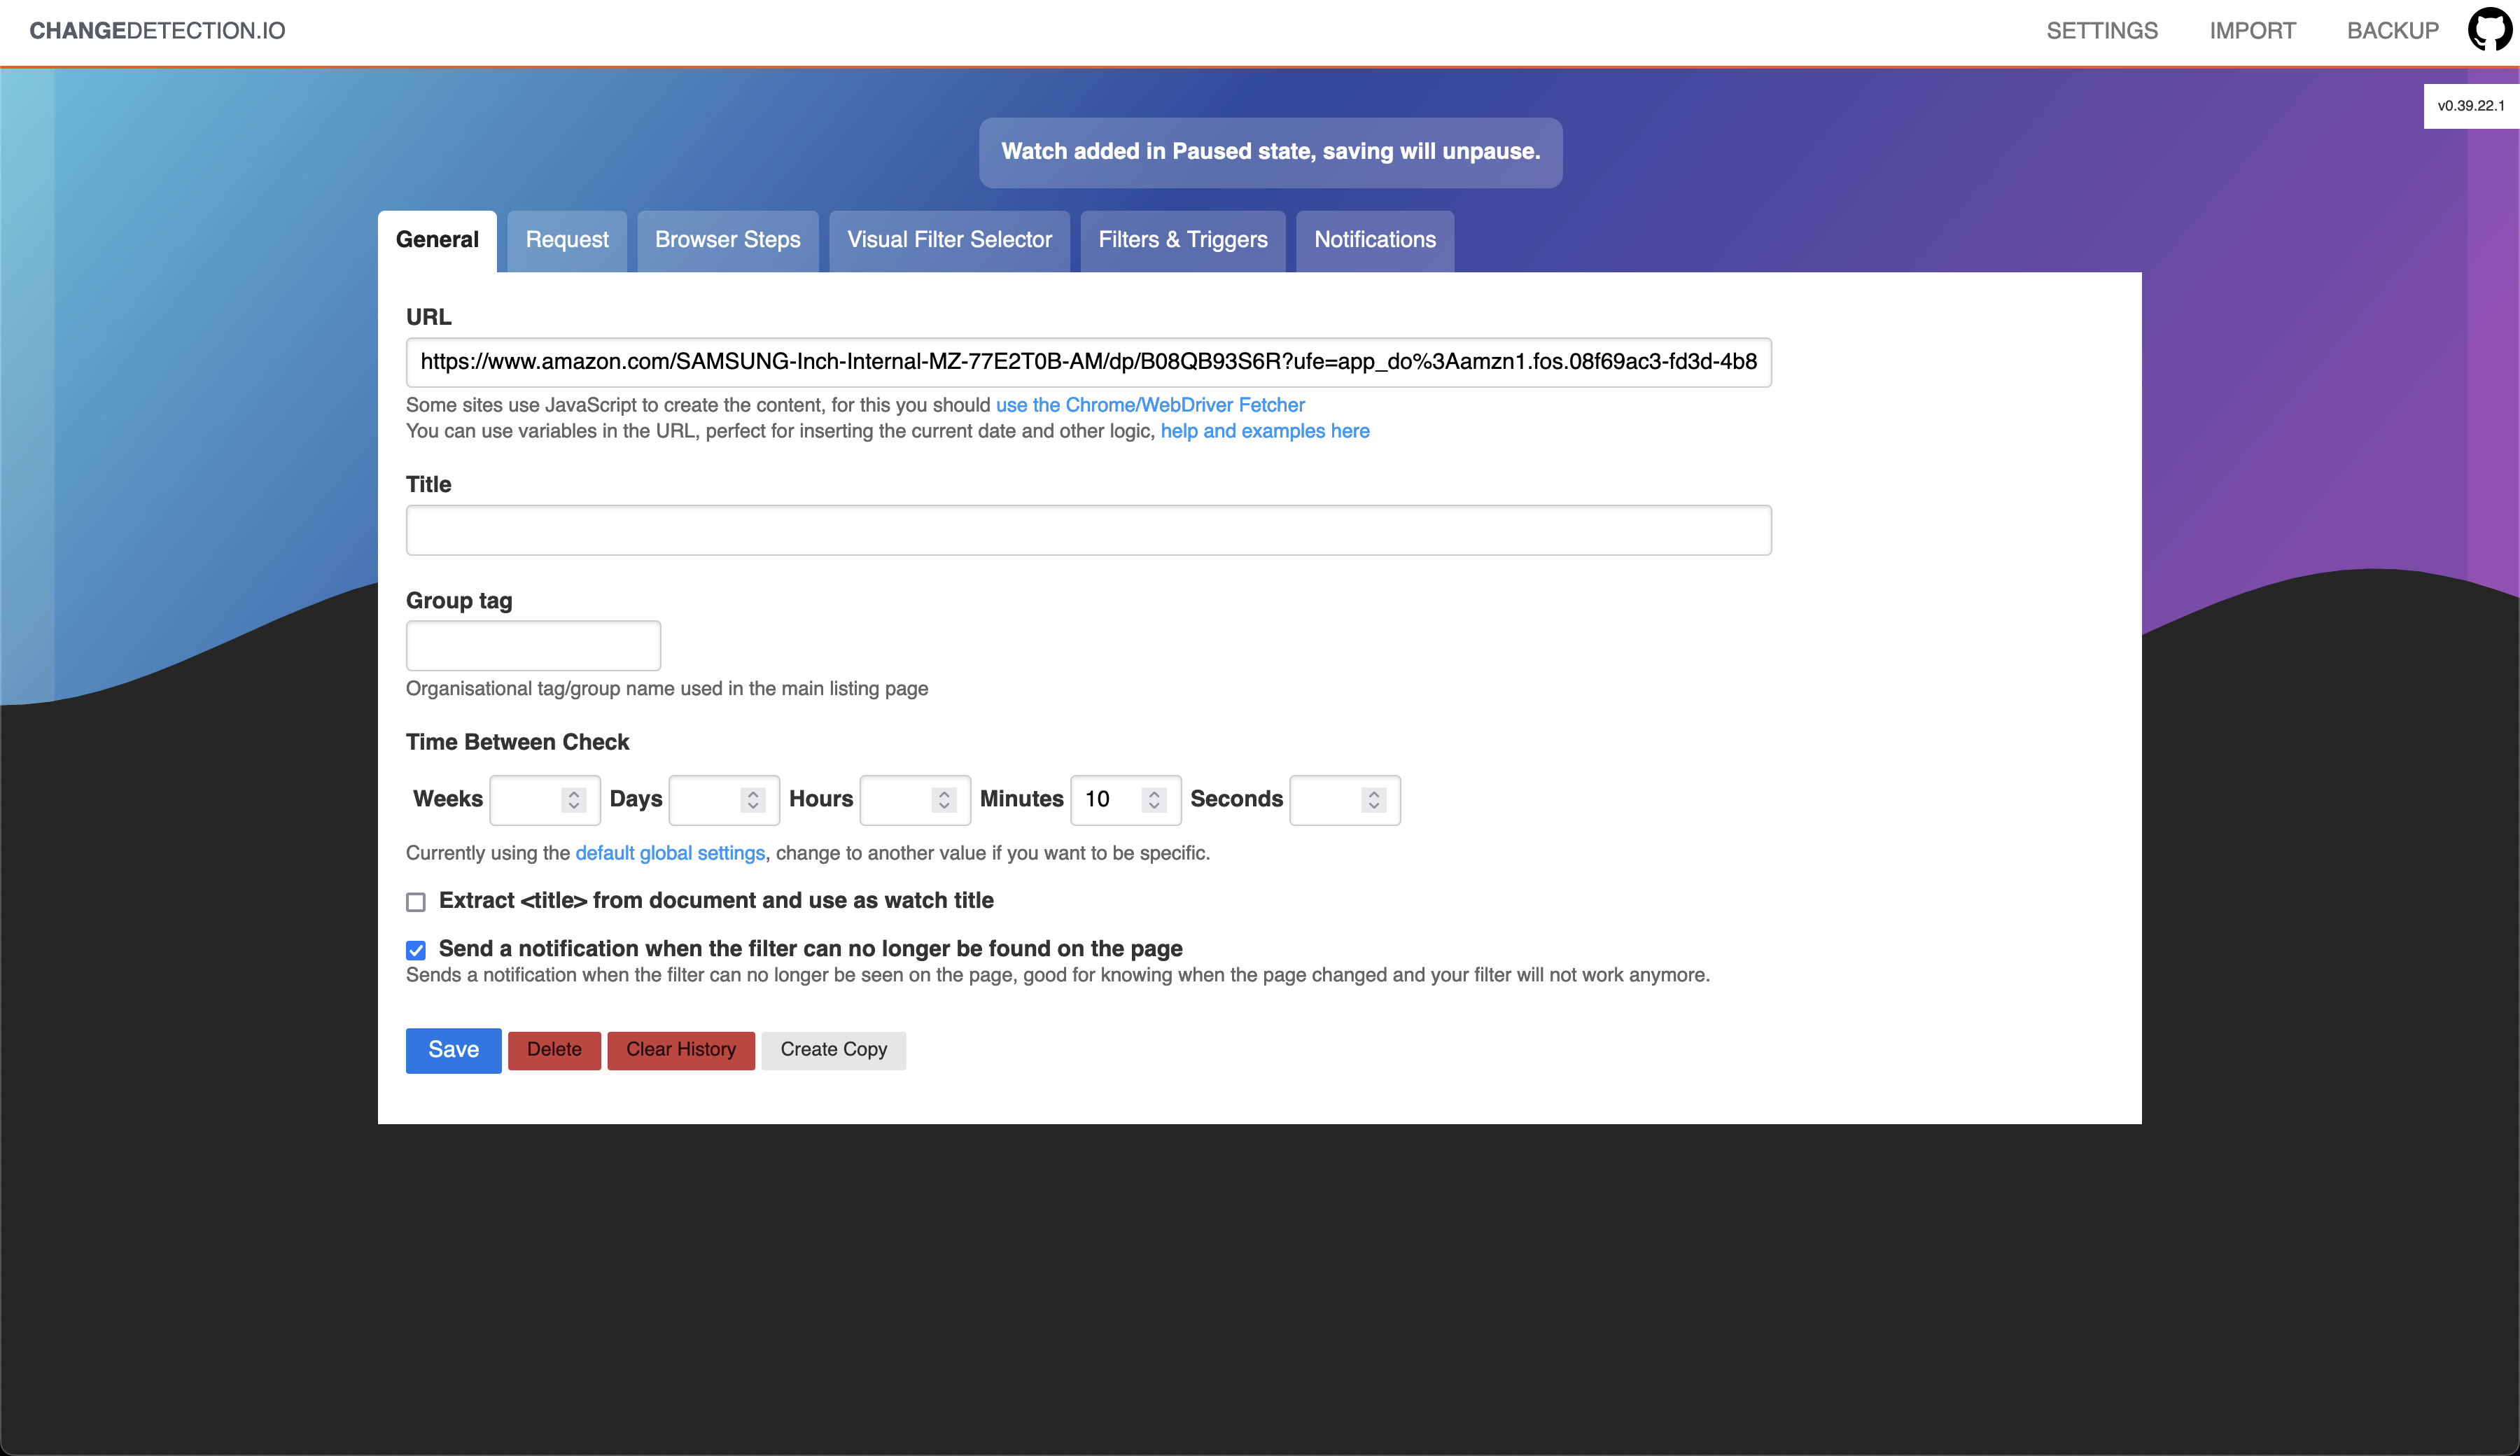 5. Under the `Request` tab, set `Fetching method` to `Playwright Chromium/Javascript via 'ws://playwright-chrome:3000/?stealth=1&--disable-web-security=true'` and `Wait seconds before extracting text` to a number higher than 15 6. Under the `Notifications` tab, enter the Telegram chat id and token you copied earlier as the following format: ```text tgram://<token>:<chat-id> ``` 7. Click `Save` You should now receive a notification when the website changes. ## Conclusion In this article, you learned how to monitor a website for changes. This is useful if you want to be notified when a website changes, for example, when a new blog post is published, a black friday sale starts, or an item is back in stock. ## Resources - [ ] [changedetection.io](https://changedetection.io/)
November 28, 2022 • 3 min read • 438 words
Website created by Yassine Fathi © 2023
Built with Next.js & Hosted in my Homelab